Segmentation - Image
Guide for Segmentation Mode in Image Annotation.
Guides on segmenting and annotating image data with BasicAI Image Tool, an all-in-one smart data labeling platform.
At BasicAI, we provide professional Image segmentation tools to meet users' ever-demanding requirements. The segmentation tools include Brush, Polygon, Fill, and Intelligent Segmentation (coming soon). In this guide, we will explore various segmentation annotation actions made possible by those tools. Especially with the Brush tool, you can effortlessly remove sections and create voids within polygons, join distinct segments of intricate polygons, and swiftly fine-tune annotations using convenient keyboard shortcuts.
Before starting image segmentation annotation in a task, please follow the two instructions below first:
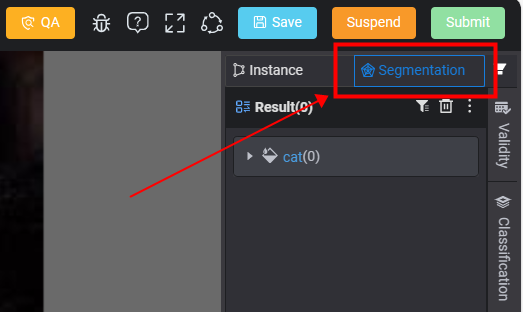
- Mode Switch: If the annotation type of a task is configured with both Instance and Segmentation modes, you will need to switch the mode to
Segmentation(alt+2) to conduct segmentation annotations on the data in the task.
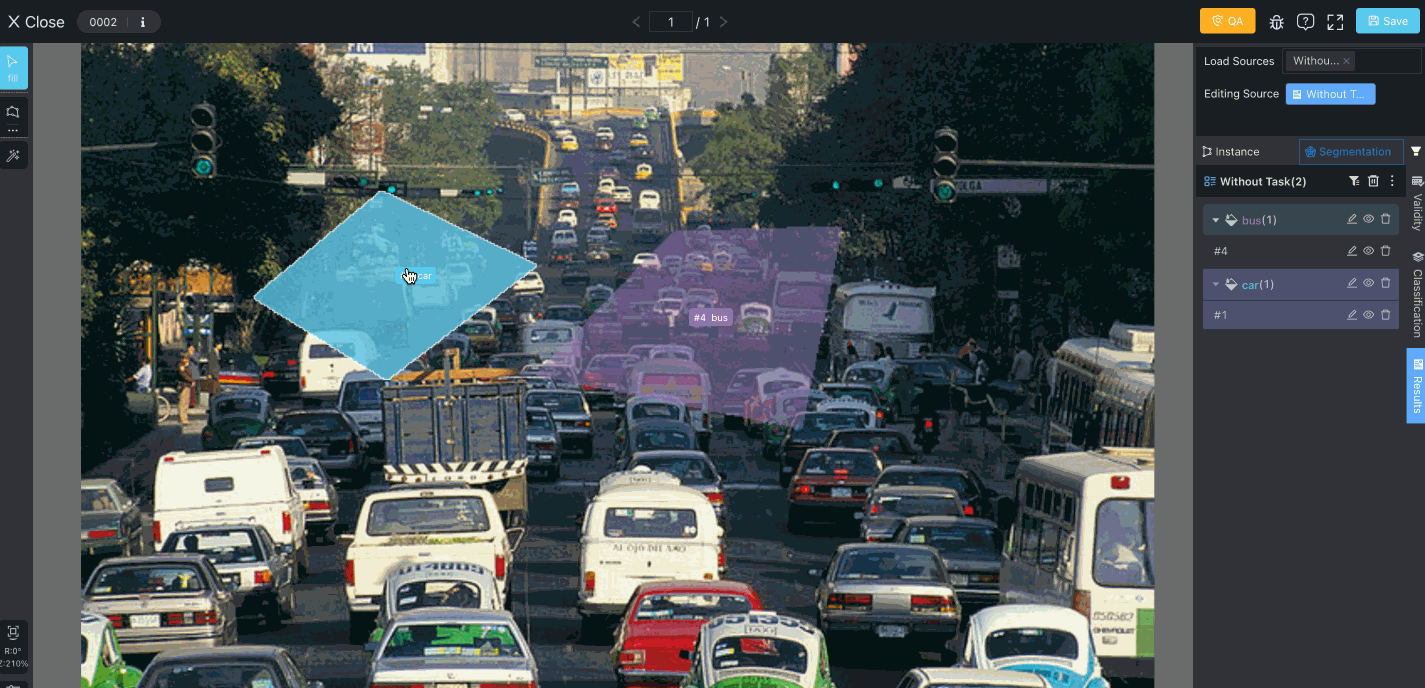
- Ontology Settings: It is necessary to configure the ontology in the ontology center for the segmented objects. Please choose the tool type Mask under a class in the class settings of the task ontology shown in the image below. Unlike polygons in Instance annotation, the Mask tool is designed for specialized segmentation projects and comes with AI-assisted annotation capabilities.
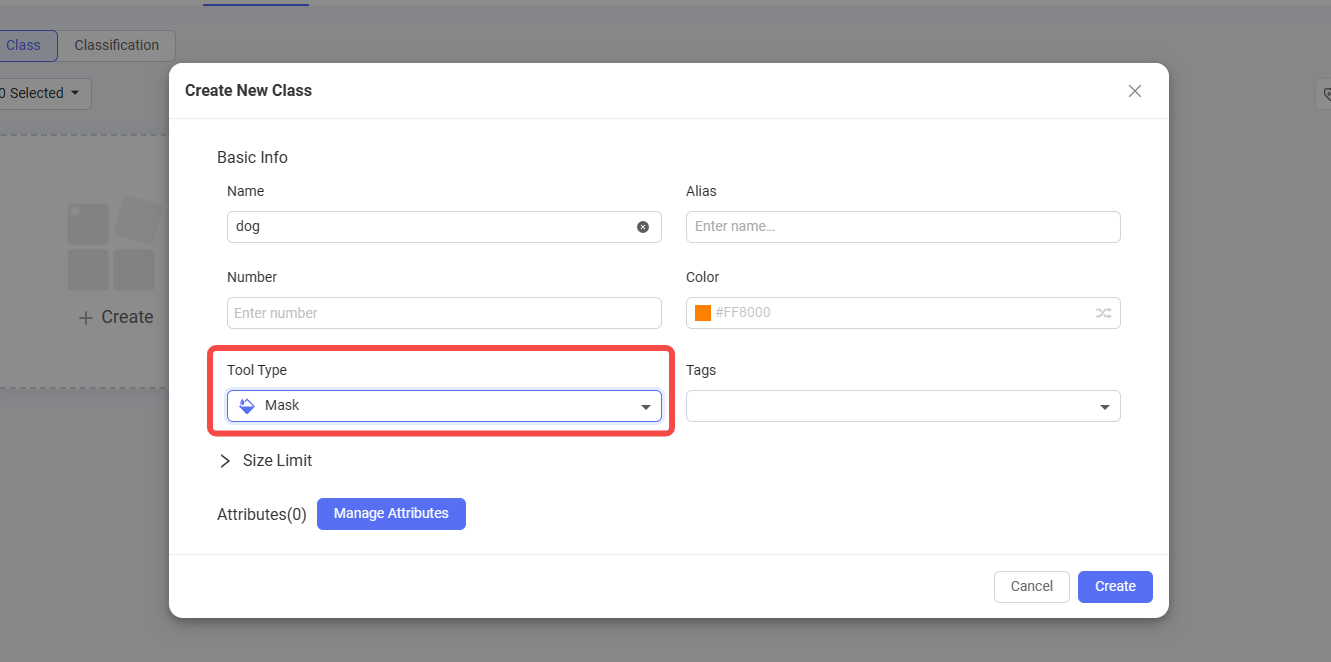
For more information about how to configure the Mask tool in the ontology center, please navigate to the Tool Type guide.
Page Display
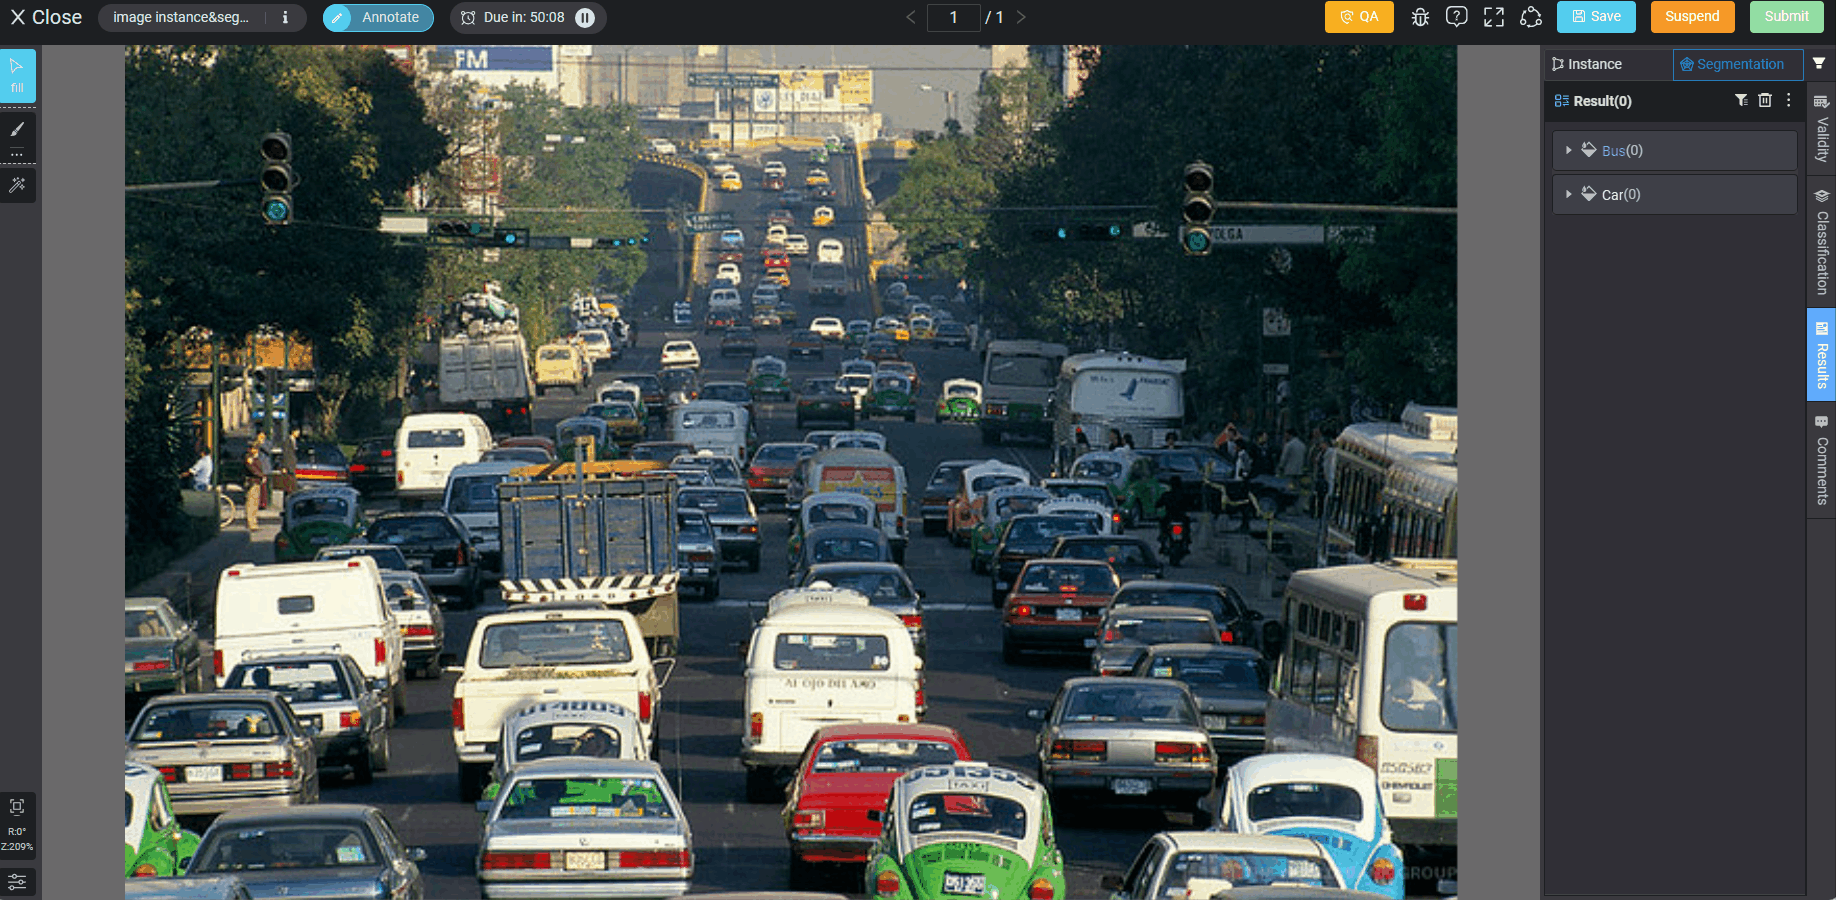
When you enter Segmentation mode on the tool page, you will find the following major sections: Segmentation Toolbar, Viewing Angle Setting, Tool Setting, and Result Management. The data canvas is displayed in the middle, and the workflow bar is displayed at the top of the page.
For more information about the workflow bar, please read our Annotation Common Tools guide.

- Segmentation Toolbar: In the Toolbar section, you will find the tools for segmentation annotation, including Brush, Polygon and Fill, which will be elaborated on in details in the subsequent chapter.
- View Angle Adjusting: The View Angle Adjusting button is designed for resetting the data canvas back to its original state. When you change the view angle or the canvas size and would like to rest the angle back, just click this button (or press Z), and the angle will be reset. Rotating the image by 90 degrees is also available here.
- Setting: Click the
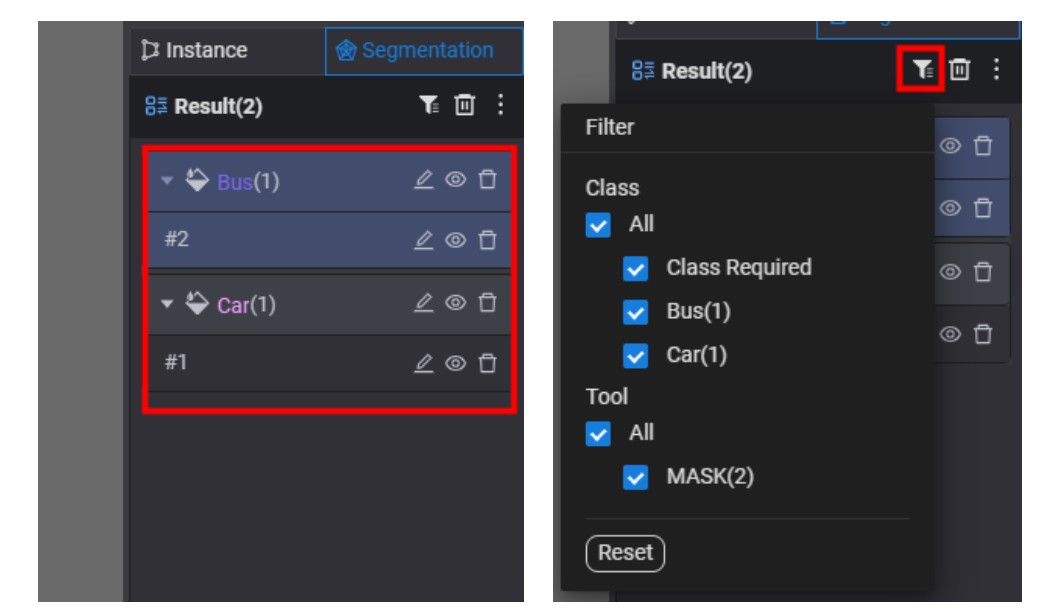
setting iconbutton to unfold the setting panel for Image, Result, Comment and Other settings. - Result Management: In the Result Management panel, you can view all the results made by the segmentation tools with selected classes and attributes. Editing and deleting the results are also available here. You can also filter the results according to the Class and Tool type.
Segmentation Annotation
Manual Segmentation (shortcut key 1)
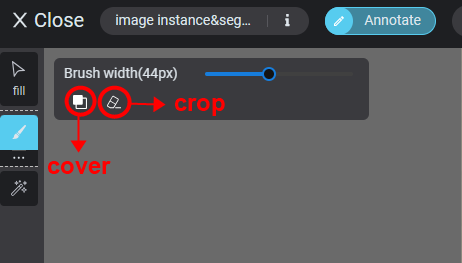
Click the brush icon or the ... button on the segmentation toolbar (or press 1) to select tools (just click the tool icons, or press X to switch tools) and start segmentation on the data canvas.
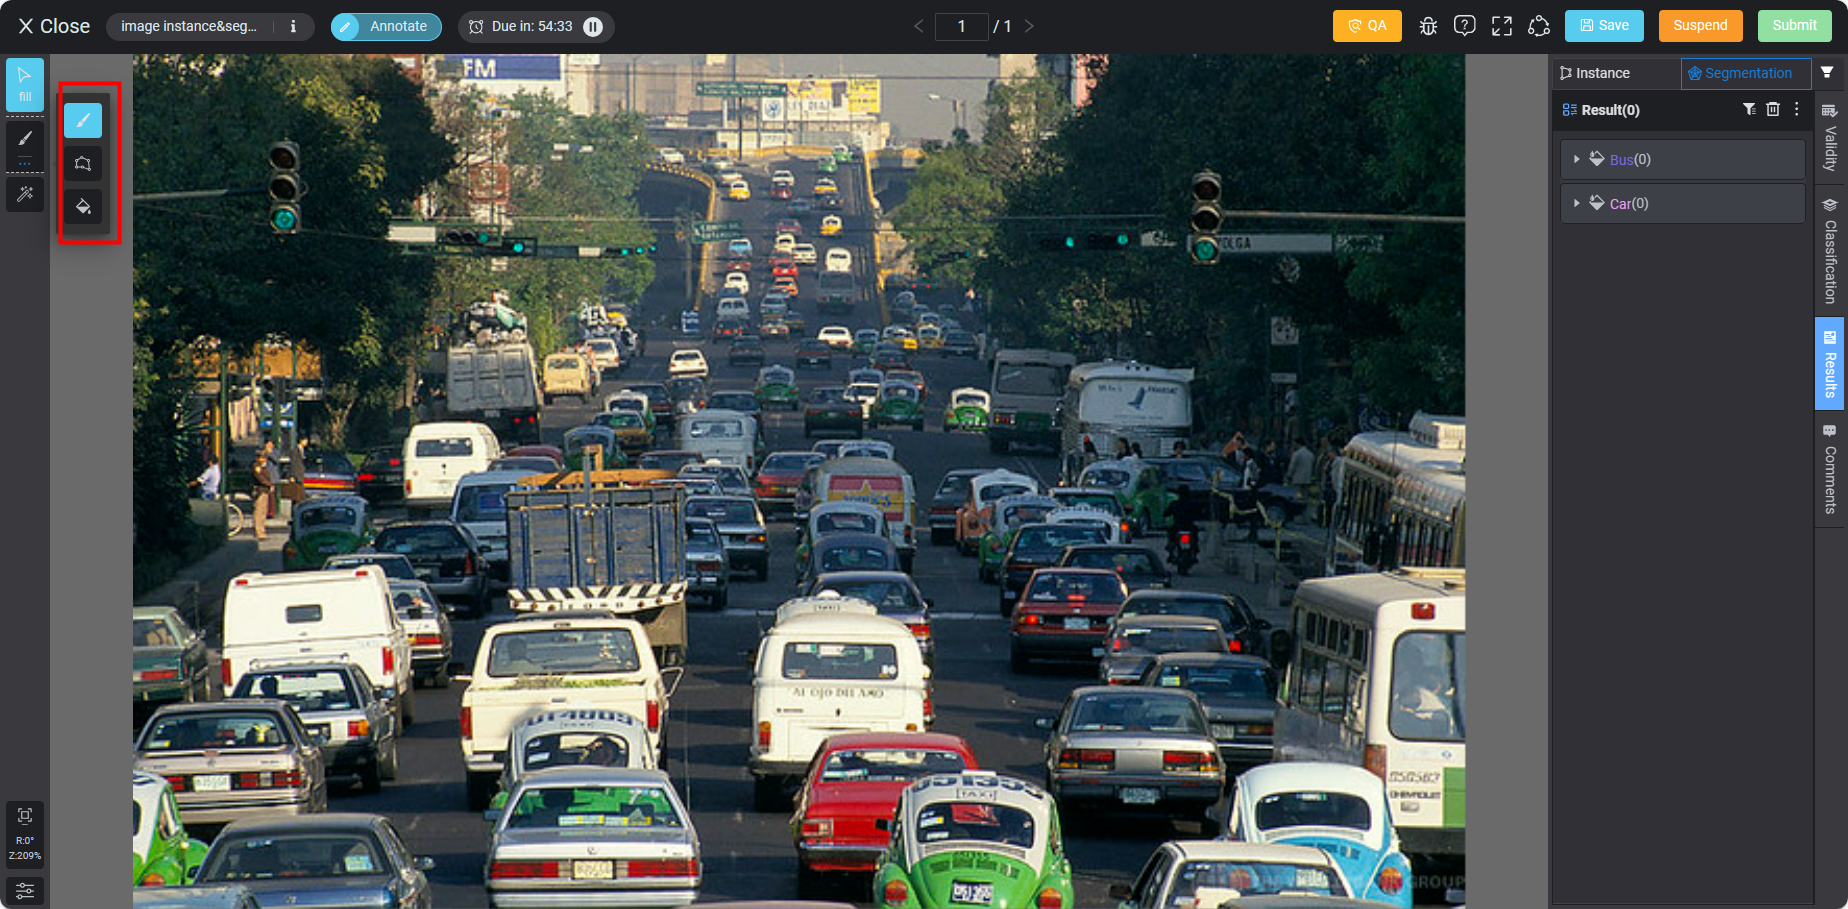
Click the cover icon button to cover up an original segmentation result (or press 2). To remove/crop a region, please click the eraser icon button (or press 3) beside it.
Brush Tool
- Click the
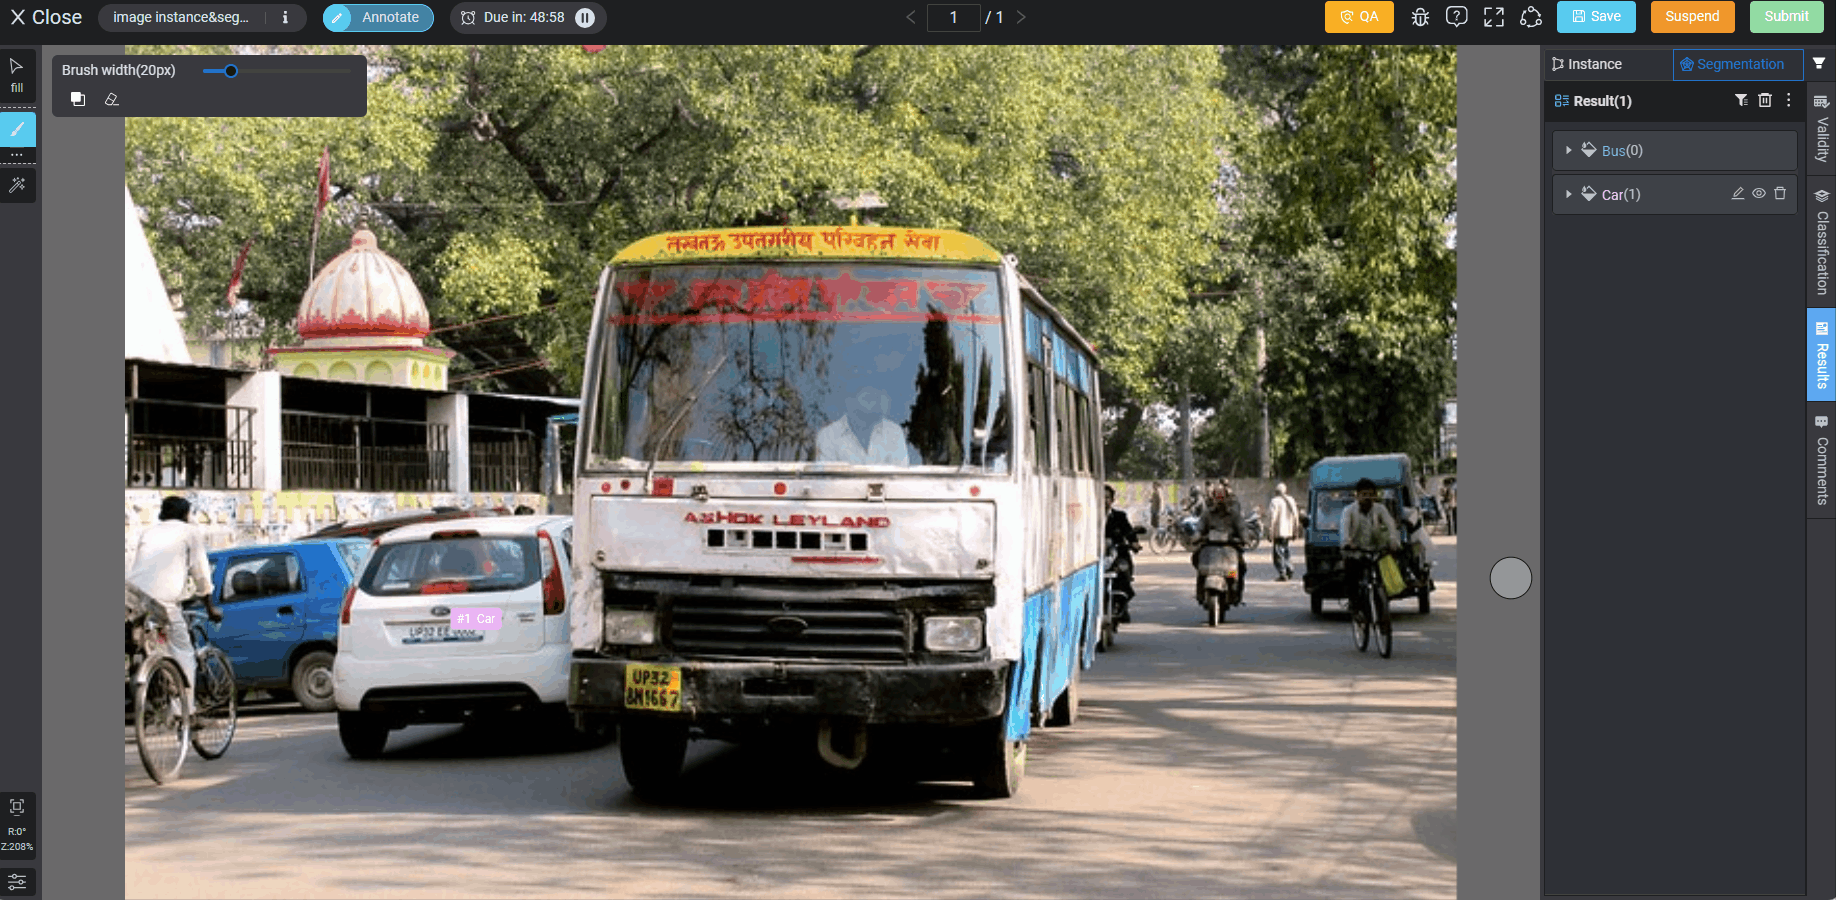
brush iconbutton on the toolbar to select the Brush tool. - You can change the brush width from 1px to 100px according to your needs.
- Move your mouse to a specific region in the data canvas to start brushing.
- Click and hold the
🖱left buttonto brush an area, while simply clicking it for stamp-style brushing. If you would like to crop a region due to making a mistake when brushing, click theeraser iconbutton or press 3 to select the tool. - After you complete brushing an object, press enter to display the Classes & Attributes Pad to add classes and attributes to the object.
Polygon Tool
- Click the
polygon iconbutton on the toolbar to select the Polygon tool (or press X to switch tools). - Move your mouse to an object in the data canvas, click the
🖱left buttonmultiple times to enclose an object, and then press space to complete the drawing, and it will automatically convert to a Mask. - After you complete drawing the mask, press enter to display the Classes & Attributes Pad to add classes and attributes to the object.
Fill Tool
The Fill tool is designed to help users fill an enclosed area caused by two different results intersecting with each other. In addition, the tool also supports to fill an area enclosed by a round-shape brush-made mask.
Click the fill icon button on the toolbar (or press X to switch tools), move your mouse to the area for filling, and then press enter to display the Classes & Attributes Pad. You can check the GIF below for an example.
NoteDirectly filling in an area without selecting a result will yield a new result; selecting a result and then filling is considered as modifying the original result.
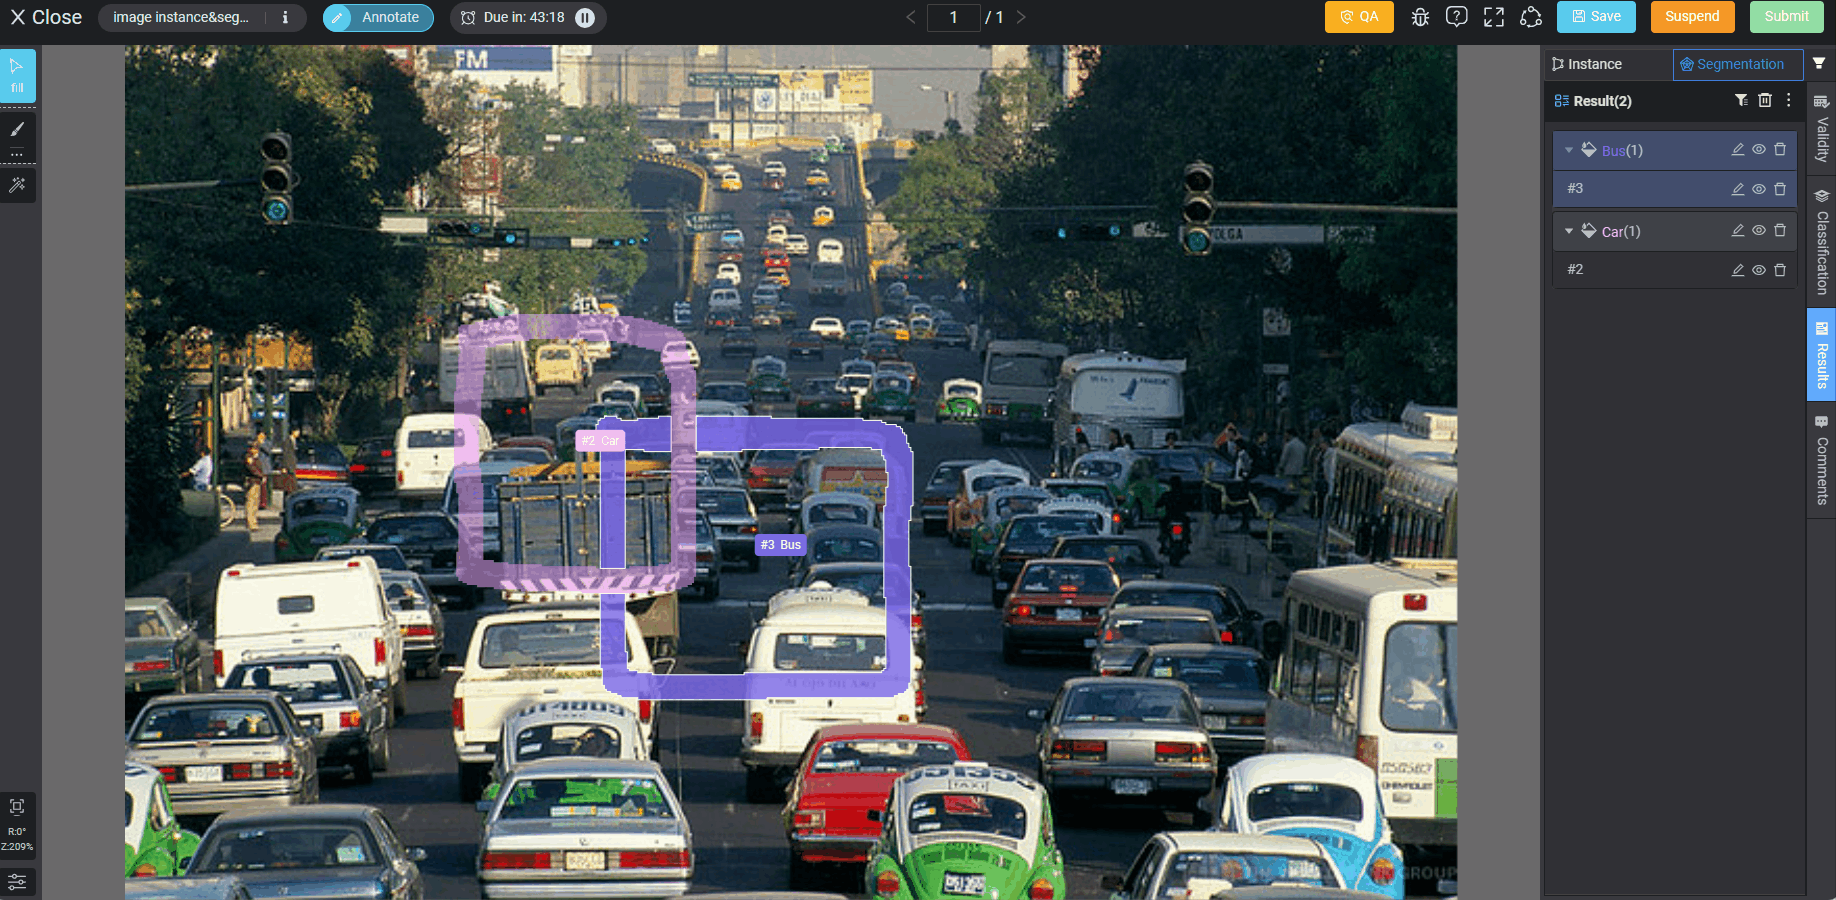
The Fill tool can also be used to combine two segmentation results into one result. After creating two segmentation regions, select one result, click the fill tool in cover mode, and then move your mouse to fill the second segmentation region and press enter. In this way, the two segmentation regions are regarded as one result.
Intelligent Segmentation (shortcut key R, coming soon🧚♀️)
Click the intelligent segmentation button (or press R) on the toolbar to experience auto segmentation driven by a model. After the intelligent segmentation is successfully applied, if you want to perform detailed work on the object, you can first select the object and then select the appropriate manual segmentation tool to add or eliminate it.
🎥 Watch the Auto Segmentation Tool Demo on YouTube
NoteDue to different environments and types of objects in various scenes, the effect of the model will also be different. It is recommended to use the intelligent segmentation function and cooperate with manual tools for segmentation operations.
Short-Cut Key List
Click the Help icon at the top right of the tool page to view all the shortcut keys:
| Segmentation Tool | Key |
|---|---|
| Data | Shortcut key |
| Switch to view/Edit instance | Alt + 1 |
| Switch to view/Edit segmentation | Alt + 2 |
| Previous | Page Up |
| Next | Page Down |
| Actions | Shortcut key |
| Save | Ctrl/⌘ + S |
| Cancel | Esc |
| Delete mask | Delete |
| Finish drawing | Enter or Space |
| Show/hide tag pad | T |
| Undo | Ctrl/⌘ + Z |
| Redo | Ctrl/⌘ + Shift + Z |
| Tool | Shortcut key |
| Selection | Q |
| Intellect Tool | R |
| Create mask | 1 |
| Switch Tool | X |
| Add region | 2 |
| Remove region | 3 |
| Result | Shortcut key |
| Show single result | S |
| Switch result | ↑ ↓ |
| Show result number | J |
| Show comments | N |
| Show class | M |
| Show labels and attributes | , |
| Image | Shortcut key |
| Zoom in/out | Wheel |
| Drag | Right click |
| Reset | Z |
| Other | Shortcut key |
| Cancel/close popup | ESC |
| Show Measure Line | Y |
| Show Measure Tools | U |
| Show Bisectors | I |
| Counter/Clockwise Rotation (Measure Line) | [] |
| Rotation Reset (Measure Line) | \ |
Updated about 1 year ago