Audio & Video Annotation Tool
🎥 Guides on annotating audio & video data and transcribing audio to text with BasicAI AV Tool, an all-in-one smart data labeling platform.
BasicAI Audio & Video Tool enables data scientists to annotate large-scale audio and video data accurately and efficiently, which is essential for data analysis, ML model training, etc.
By adding labels, tags, and other information, users can achieve various functionalities such as audio segmentation, speech transcription, music classification, and emotion analysis.
NOTE: This tool only supports annotation of audio data within video files. For visual-related data annotation, BasicAI Image Tool can be used.
Prerequisites
Before starting the annotation process, it is essential for you (or your project manager) to upload a dataset and configure the ontology.
📖 Click to view quick steps
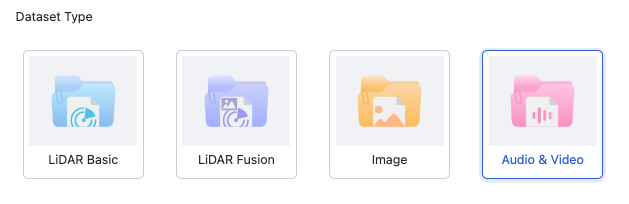
1️⃣ Create aDataset or Task with the type Audio & Video and upload data.
Supported file formats
| File Types | Video files | Audio files | Compressed files containing valid video or audio types |
|---|---|---|---|
| Supported File Formats | .mp4 .mkv .mov | .mp3 .wav .m4a | .zip .gzip .tar .rar |
NOTE: The local file size limit is 1 GB. For files larger than this, we recommend uploading via URL or Object Storage. To learn how to upload and config, please check Upload Data
The uploaded data will be presented in the form of cards, with the waveform as the cover for audio and the first frame screenshot as the cover for video.
Click Preview on the card to preview the data in a playback window, supporting basic playback control operations.
2️⃣ Configure theOntology based on task requirements.
For audio and video segmentation, Clip is the specific tool type of Class. Length limit and other information can be customized.

Start Annotation
There are two methods for audio and video annotation: manual annotation and model-assisted annotation. Choose the method based on your specific requirements.
1. Manual Annotation
The interface of BasicAI Audio & Video Tool consists of four main areas: Player & Workspace, Transcription Results, Labels, and Result List.
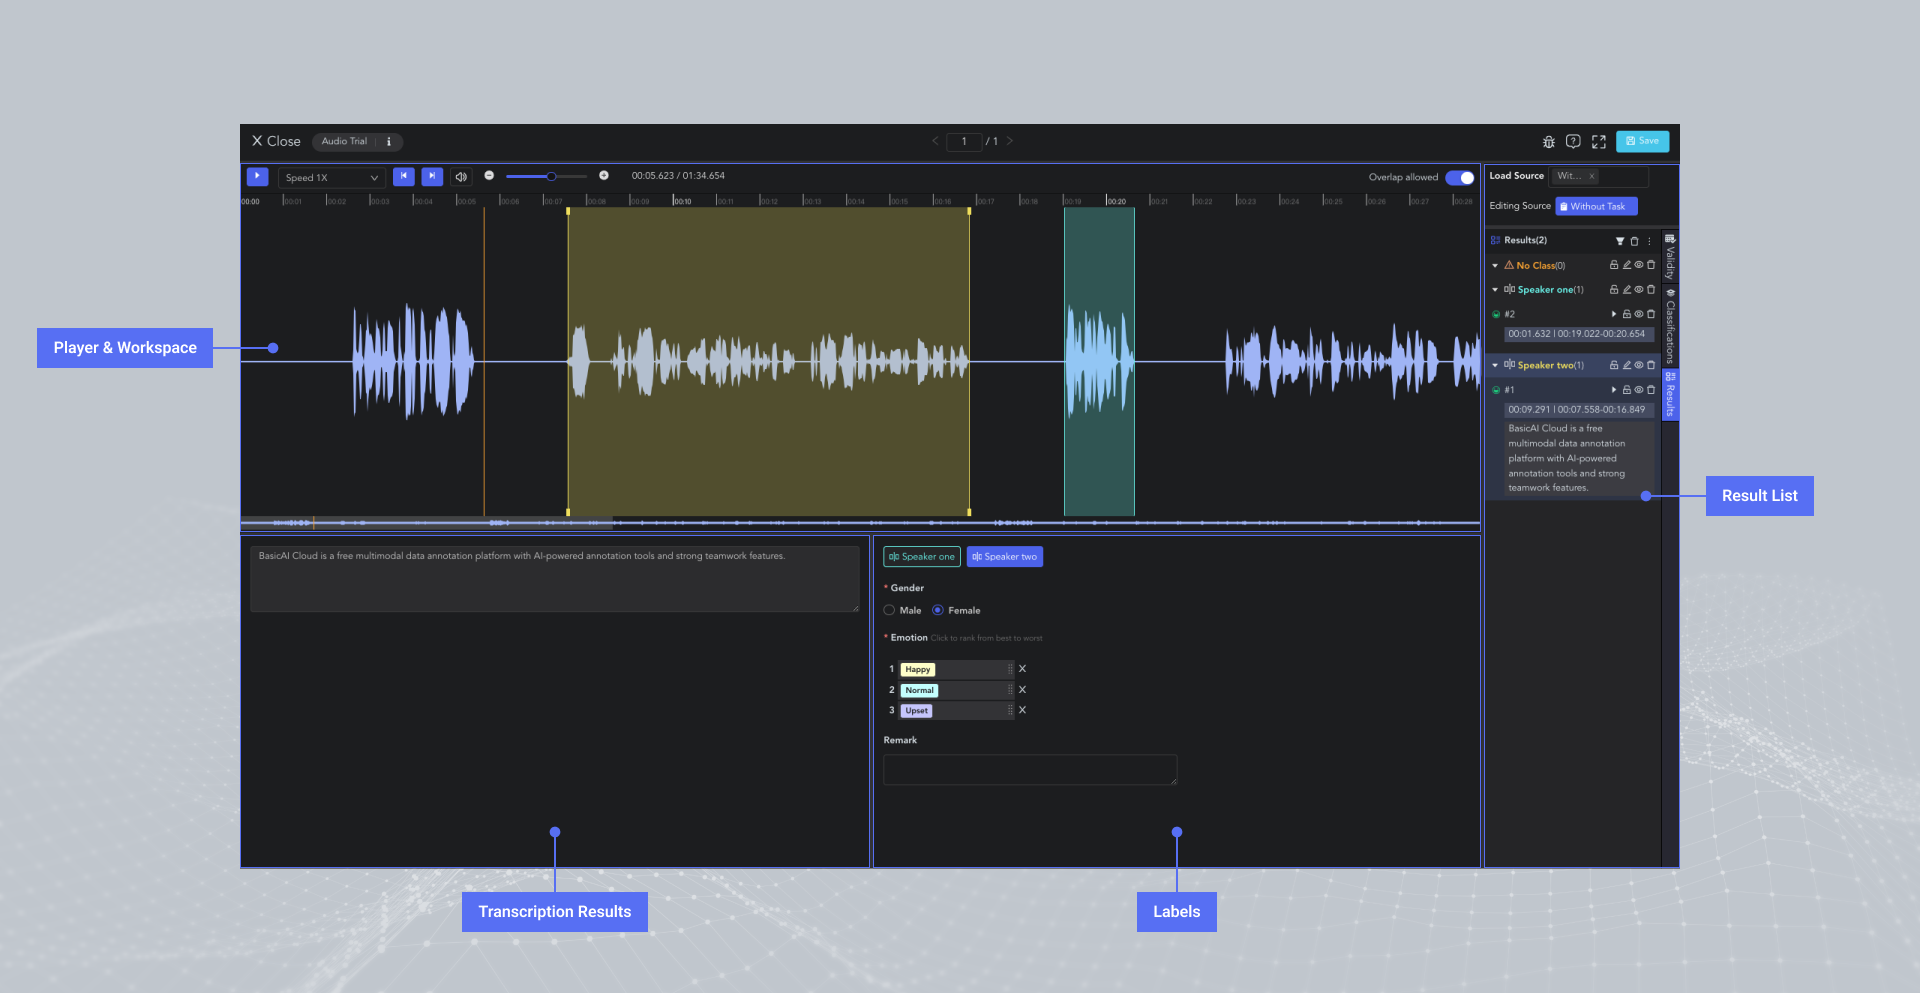
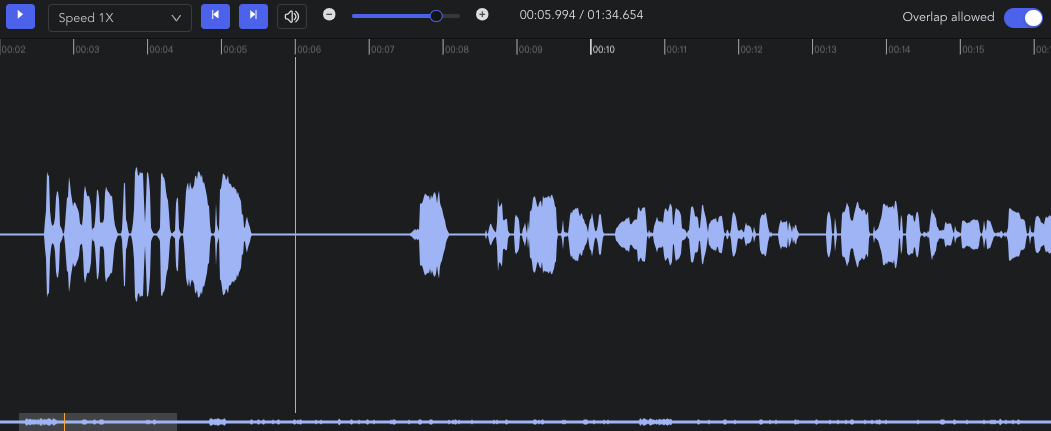
Playback Controls
The audio waveform and video footage (only available in the video tool) will be displayed in the Player & Workspace Area.
🖱️left click on the waveform to adjust the pointer position.
You can control the playback of the audio and video, including play/pause, speed adjustment, fast backward/forward, volume control, waveform zooming/scrolling, etc.
In the Result List, you can also quickly play the clip results.

Clip
Clip segmentation is one of the fundamental operations in annotating audio and video data. Transcription, labeling, and other operations are performed after this step.
- Creating Clip: 🖱️right click on the waveform in the Player & Workspace Area to create a clip (start point). 🖱️right click again to complete the segmentation of the clip (endpoint).
- Auto Fit Clip: Ctrl/⌘ + 🖱️right click, the result can be automatically aligned to the nearest clip start/end point for seamless annotation.
- Adjusting Clip: 🖱️left click and drag the edge line of a clip to adjust the start/end point.
- Overlap Allowed: 🖱️left click the tab to switch whether to allow overlapping between clips. When the tab is off, the start/end points will be automatically adjusted for alignment.
- Selecting Clip: 🖱️left click to move the pointer to the clip result and select it. Alternatively, clicking on the corresponding result in the Result List also works.
Transcription
Transcription is the process of converting speech audio into written text.
- Manual Transcription: Select the clip result and enter the audio content in the Transcription Box. Line breaks are supported, with a maximum limit of 1000 characters. The transcription result will be displayed in the Result List.
- Model Transcription: In addition to manual transcription, automatic segmentation and transcription can be performed using a model. Please refer to 2. Model-assisted Annotation for more information.
Class Labeling
Clip results without a selected class will be categorized under the "No Class" (orange) group.
To assign a class label to a clip result, select the clip and choose the class in the Label Toolbar. Next, set attributes such as single/multi-selection, dropdown, ranking, and text comments.
In the Result List, you can set the classification and validity of the data, and perform actions such as clip playback, filtering, deletion, etc. Find more information in Annotation Tools Commons.
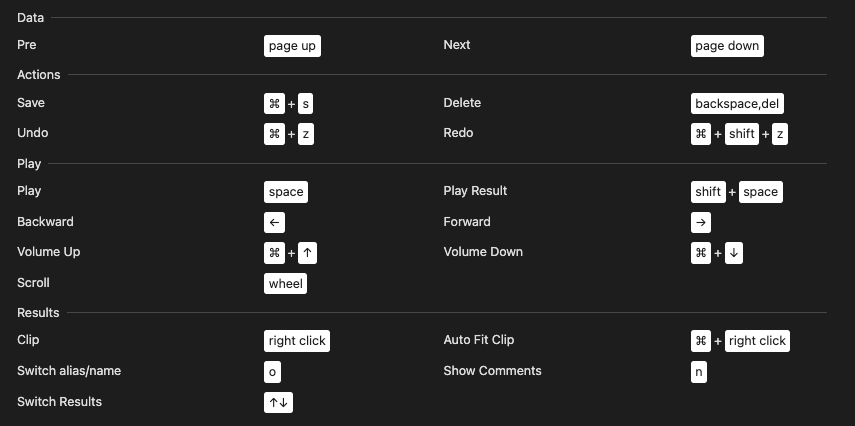
Shortcuts
2. Model-assisted (Auto) Annotation
Currently, BasicAI provides a model for audio-to-text transcription, which can be found in the Model Center for your reference.
How to run the model?
-
Open the model and switch to the Runs section, click on
Run Model. Select the audio/video dataset that you have created and wait for a moment while the model runs.
-
Click on View Dataset to enter the Audio & Video Tool. Load source from the model. You can view and edit the automatically clipped and transcribed results.
-
Since this model only performs audio transcription, other manual annotating operations are required. You can refer to 1. Manual Annotation for guidelines.
Updated about 1 year ago